Hi All,
In this guide We will show how to resize an EXT4 partition using GParted & a VMware virtual machine.
GParted is a free partition editor for graphically managing your disk partitions.
Important Notes:
-During the process of increasing the disk, your server will need to be brought down.
-Increasing disk has the potential to cause a lot of damage. It’s very important to make a backup of your server, if you are using a virtual machine, make sure to take a snapshot before starting the process.
-The snapshot must be taken after increasing the disk, otherwise you will not be able to increase the disk until it has been removed
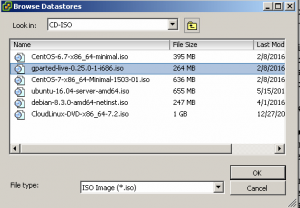
Download the GParted live CD ISO file from here
Ok, Let’s begin!
From our server let’s take a look on our disk file system:
Run the command:
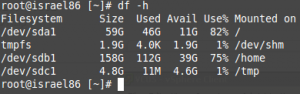
df -h
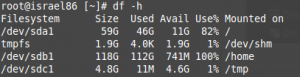
We can see that our /home partition is in 100% Use! The /dev/sdb1 is associated to /dev/sdb. (We will configure the sdb device)
From the command:
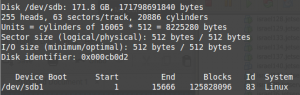
fdisk -l
Make sure your device listed as “Linux” and it has the ID of 83. The 83 hex code shows that it is a Linux native partition.
We have the following details:
- We need to increase the /dev/sdb device
- Our /dev/sdb device had the ID of 83 hex code.
- The /dev/sdb device size is: 118GB
- The /dev/sdb device is in the second place on the list ( As shown from df -h command)
First, We need to increase the allocated disk space on the VM from the Vcenter\Vsphere Client
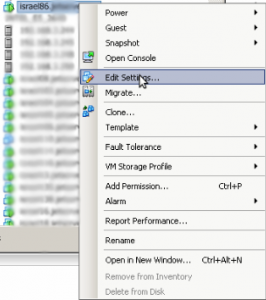
Before editing the VM, poweroff the VM gracefully.
Right clicking the virtual machine -> Edit Settings:
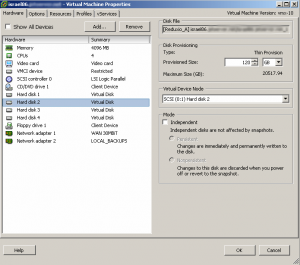
We have 4 Hard disks, From the above details we can know which hard disk we need to modify.
- We know that our Hard disk size is 118 GB.
- We know that /dev/sdb device is in the second place in the list from the df -h command.
So we will pick the second Hard disk that has 120 GB & is located in the second place.
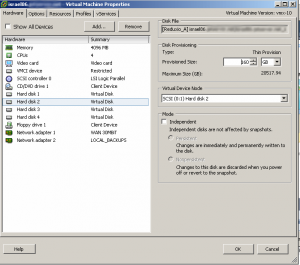
You can see I added 40 GB to the hard disk:
Now we need to boot with the GParted disk:
Go to Option tab -> Advanced -> Boot Options -> Check box: Force BIOS Setup
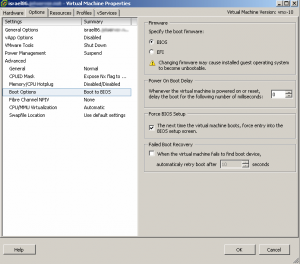
The next time the virtual machine boots, we will access into the BIOS setup screen.
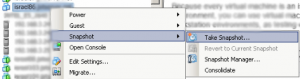
We have to take a snapshot for a backup just in case of a failure:
Right click on VM -> Snapshot -> Take Snapshot

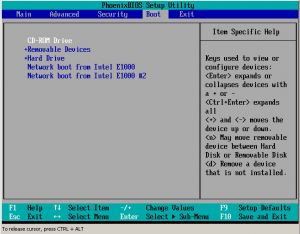
After the snapshot has been created, Power on the machine, you will access the BIOS setup screen.
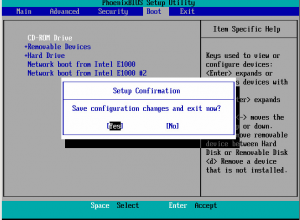
Go the Boot tab and make sure the CD-Rom Drive at first in the order:
Now connect the GParted ISO:

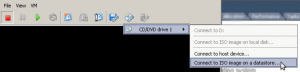
After connecting the CD, save the configuration and exit (F12 in most cases)
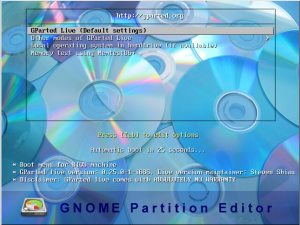
Once the virtual machine has powered on and you have booted to the CD, Gparted menu will show up.
Press enter to boot into GParted Live (Default Settings).
Configuring console-data: accepted the defaults by pressing enter: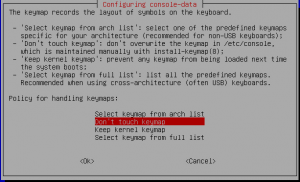
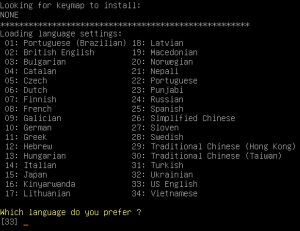
Select language, pressing Enter defaults to English:
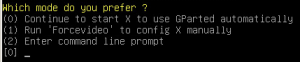
Enter default option 0, to work with the GUI:
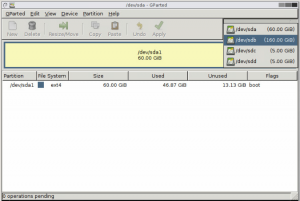
In the top-right corner, you can see all the hard disk devices available:
Choose our device (/dev/sdb):
We can now see that unallocated space:
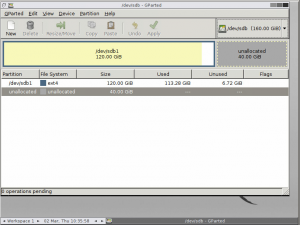
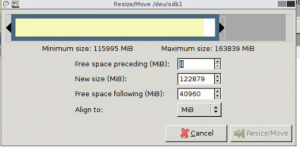
Select /dev/sdb1 and click “Resize/Move” :
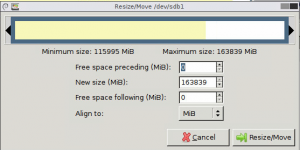
Drag the black arrow of /dev/sdb1 all the way to the end of the unallocated space and click the Resize/Move button:
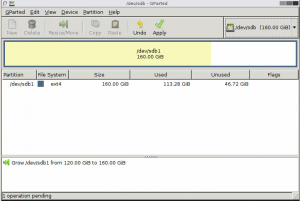
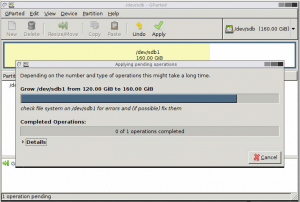
Now click “Apply”
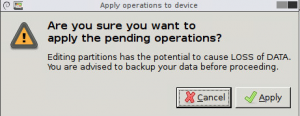
Accept the warning message, as we took a snapshot 😉
This may take a while….:
Completed! :
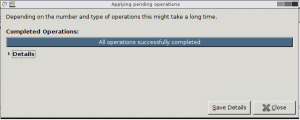
We just need to reboot the virtual machine:
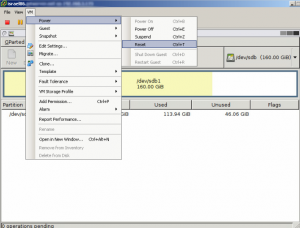
Once the operating system has booted you can confirm that the disk space has expanded correctly:
fdisk -l
df -h
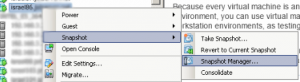
** Don’t forget delete the Snapshot! :
Right click VM -> Snapshot -> Snapshot Manager… :
Delete:

Good Luck!
Leave a Reply